Progress on the Game Boy Cartridge
Summary
FPGAs are hard
After taking a break for a couple years from my Game Boy Cartridge project, I picked it up again and started making some progress. Initially, I was trying to use an FPGA to implement the interface between the Game Boy and the game cartridge memory. This did not go was well as I had hoped. I think the biggest issue for me with this was the fact that I am not very knowledgeable in the realm of FPGA development. I did manage to get the FPGA to provide enough data to play about 10 seconds of a game, but I got discouraged with the complexities of adding more memory and interfacing between a 5 volt and 3.3 volt system.
Keep it simple stupid
Fast-forward to a few days ago, I was talking with a friend and he asked where I was on the project. In talking with him, I realized that I needed to scale back and try something a bit easier. And so, I decided that I would just try and get a small game running from a flash memory chip. This would require me to just program a game to the flash part and wire it up to a cartridge break-out board which I had designed and had printed during my early adventures.
Talk to the flash
I picked out a flash memory chip ( SST39SF040 ) that has a parallel interface compatible with the Game Boy and ordered it from DigiKey. Once it arrived, I needed to figure out how to actually get the game data on to the chip. To do this, I used an Arduino MEGA 2560. Without too much effort, I had a sketch that could read and write bytes and erase the chip.
Write the game to the flash
To actually write a game to the chip, I had to send the data from my computer to the Arduino and have the Arduino write the data to the chip. I devised a simple protocol to talk to the Arduino and I wrote a golang program to open a file and send commands to the Arduino to store the file data onto the chip. Now, I had myself a memory chip programmed up with Dr. Mario!
Wire it up!
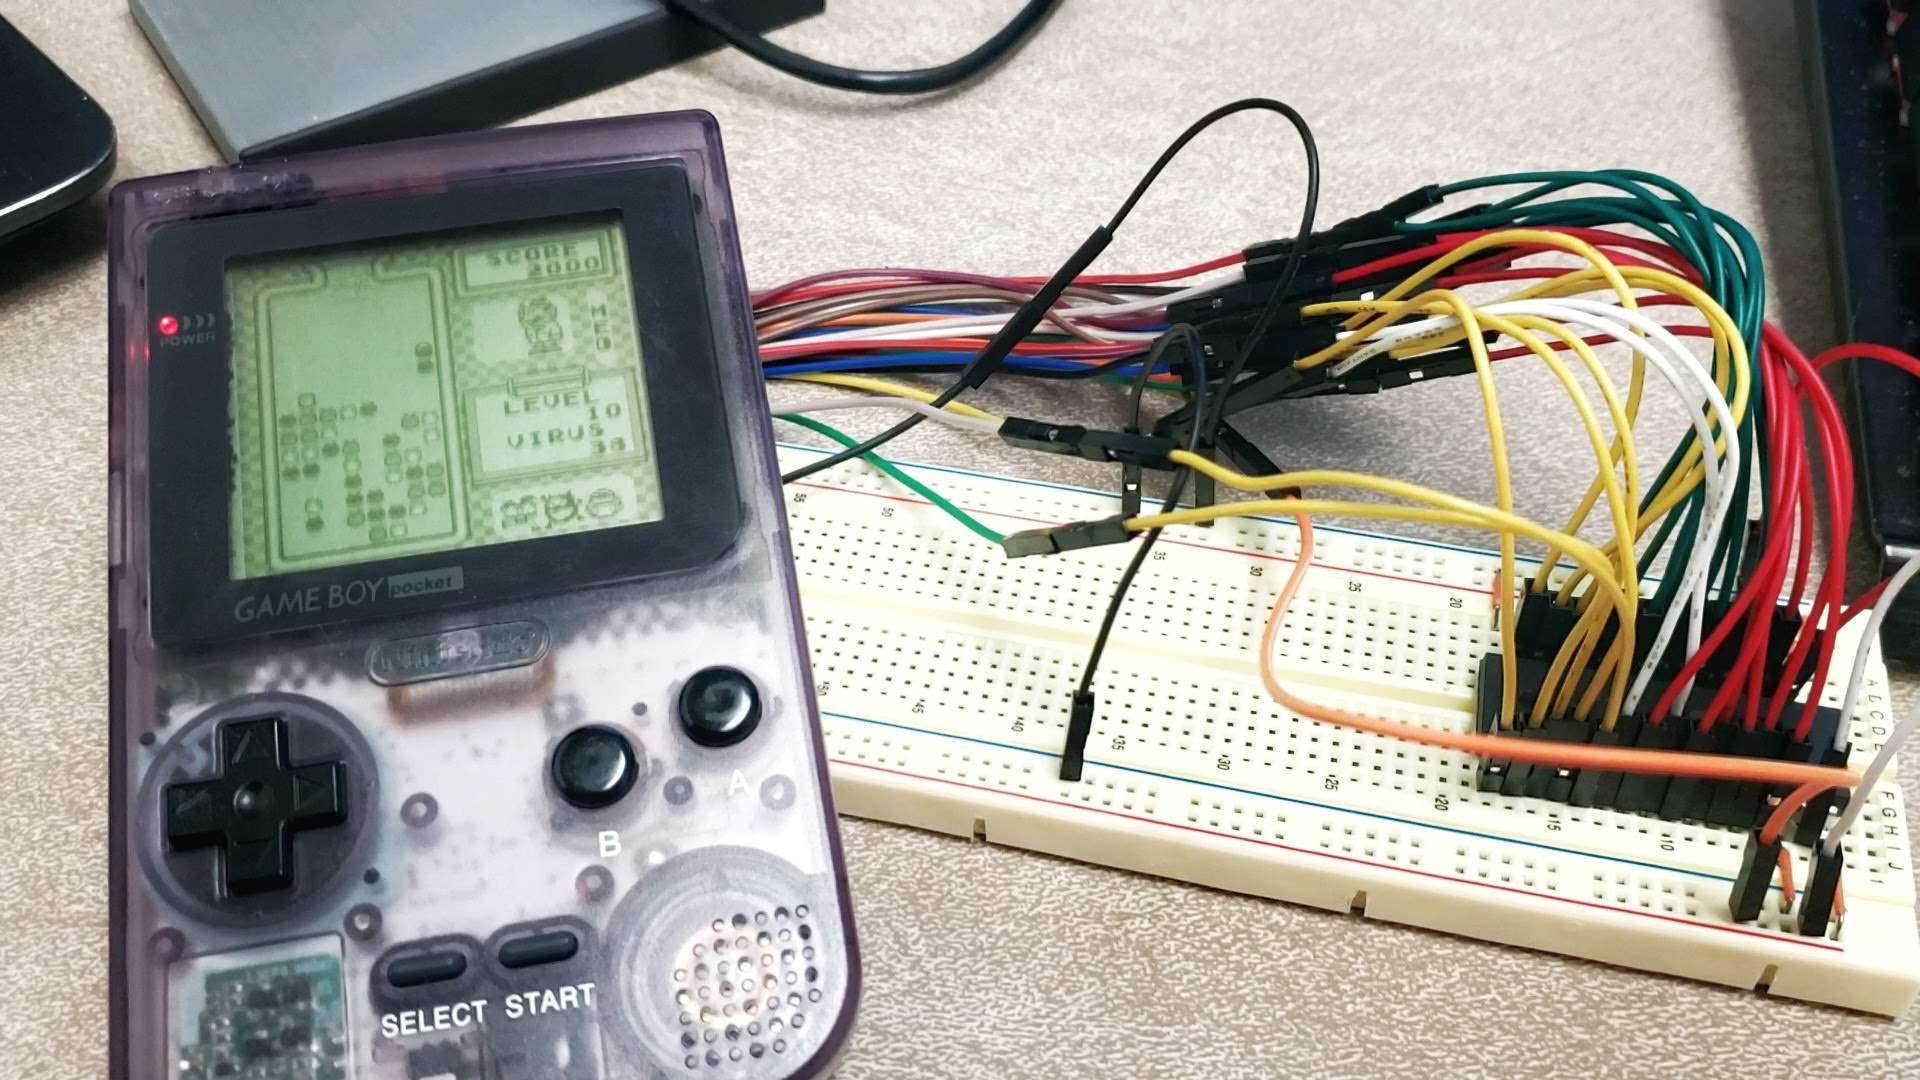
Wiring the flash chip to the break-out board would allow me to play the freshly programmed game. Unfortunately, I miss wired things a half dozen times before finally getting all the 32 wires in the right spot. This was very discouraging, especially since I didn’t really know if the problem was in the wires or in the flash chip. The feeling when the game finally started… amazing! I was now playing Dr. Mario from the flash chip that I had just programmed.
Next steps
My next task is going to be to design a PCB with the flash memory chip to make loading games easier and then start to add in memory bank handling so that I can play larger games.
