Cartridge Socket Breakout
Summary
What does it do?
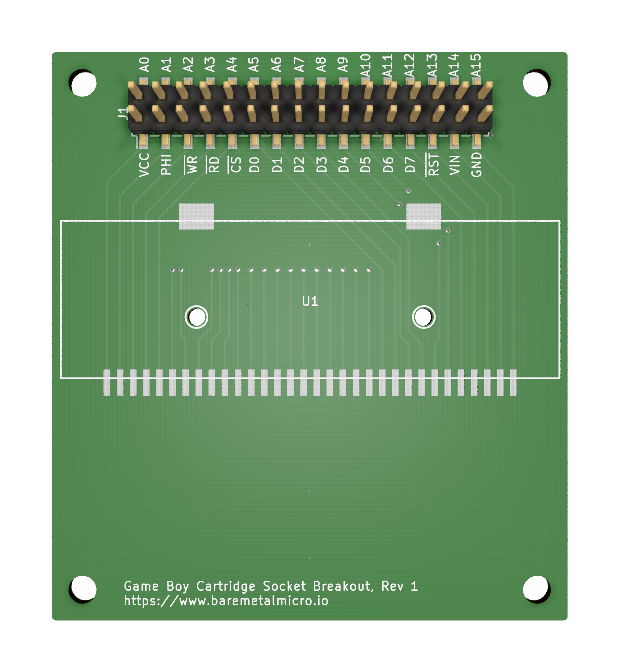
The purpose of this board is to allow me to insert a game cartridge and communicate with it over the address and data lines. I will be able to insert original games as well as any custom cartridges that I create.
Create the parts
Since the cartidge socket part wasn’t already in KiCad, I had to design a symbol and footprint for it myself. Creating the symbol was easy. I just had to create 32 pins and label them appropriately. Creating the footprint was a bit harder. Using my trusty Harbor Freight digital calipers, I mearsured all the important bits and drew out the footprint in the footprint editor. I checked my work by printing out the footprint on a piece of paper and laying the actual part on top of it to verify everything lined up properly.
Let’s give manual routing a try
After using the auto router on the last board, I really wanted to try my hand at manually routing a board. This board was a good one to try this out because it only has two components. I found that the Highlight collisions mode of the interactive router worked best for me. In this mode, I was able to place the traces exactly how I wanted and KiCad would just alert me to any collisions. Also, I found that selecting a trace and pressing D to drag it around worked very well.
Sneak Peak
This is a rendering done by KiCad that shows what the board will look like.
